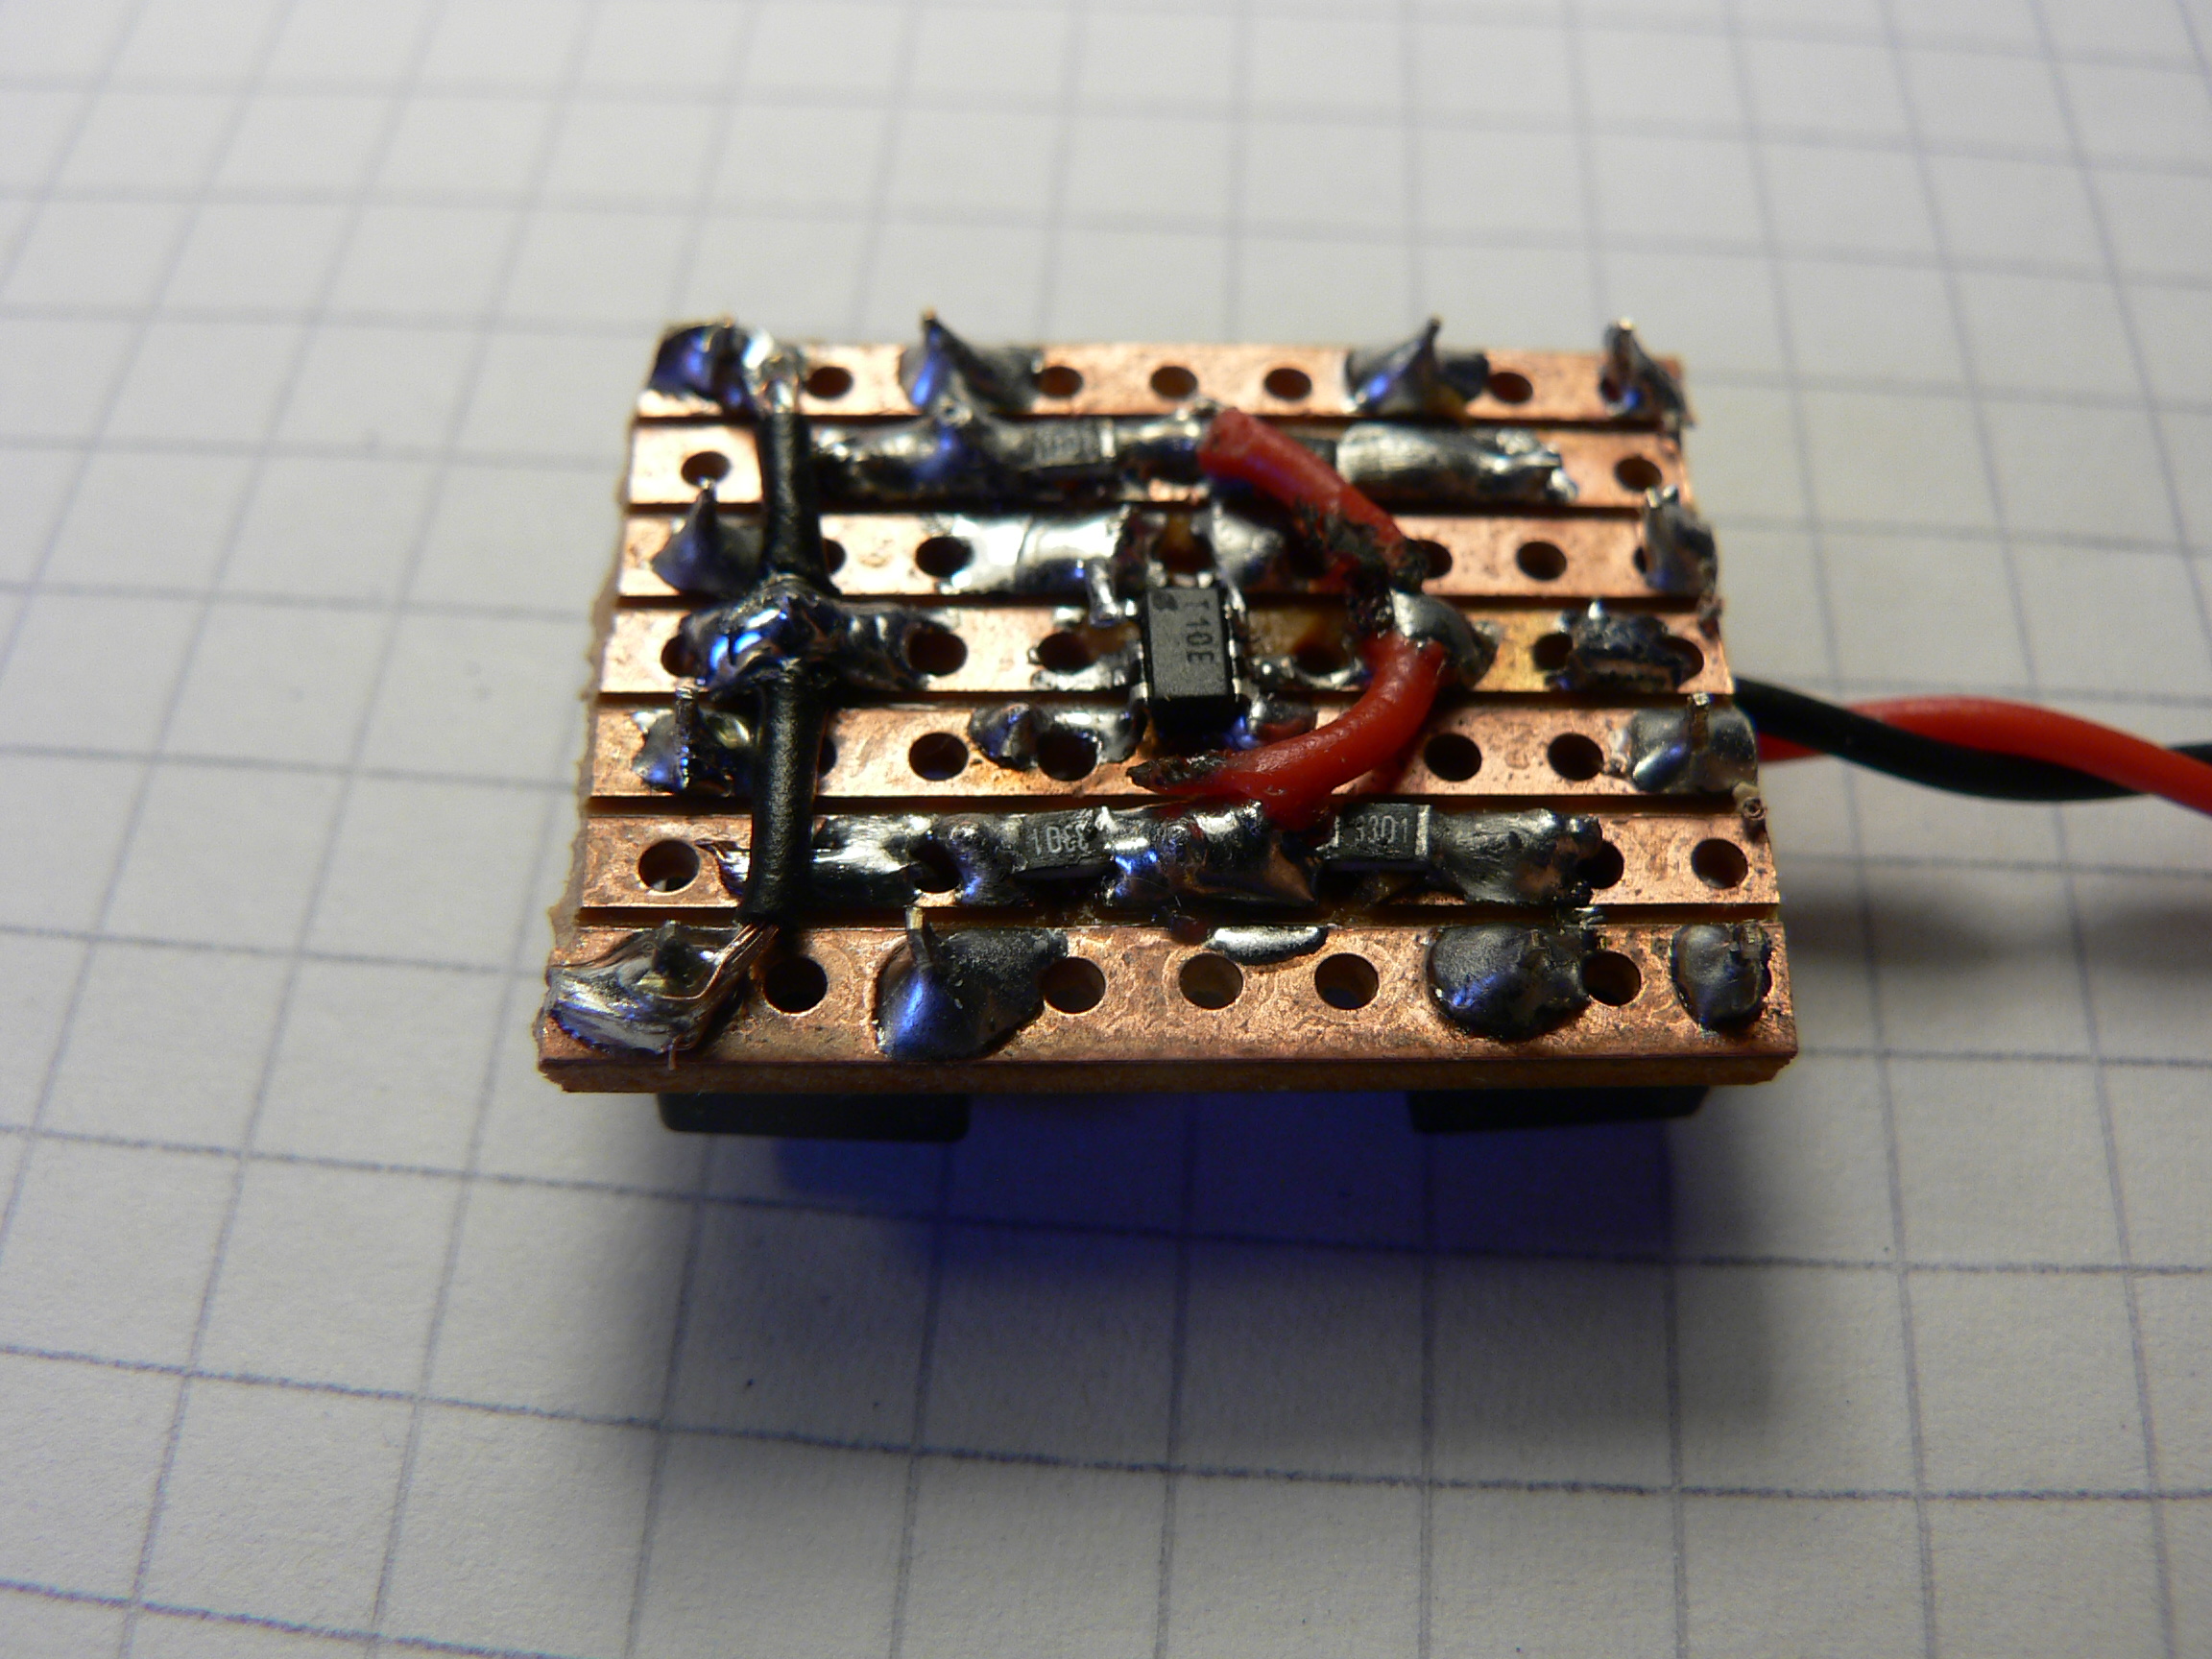
 Bottom view. Can you spot the microcontroller?
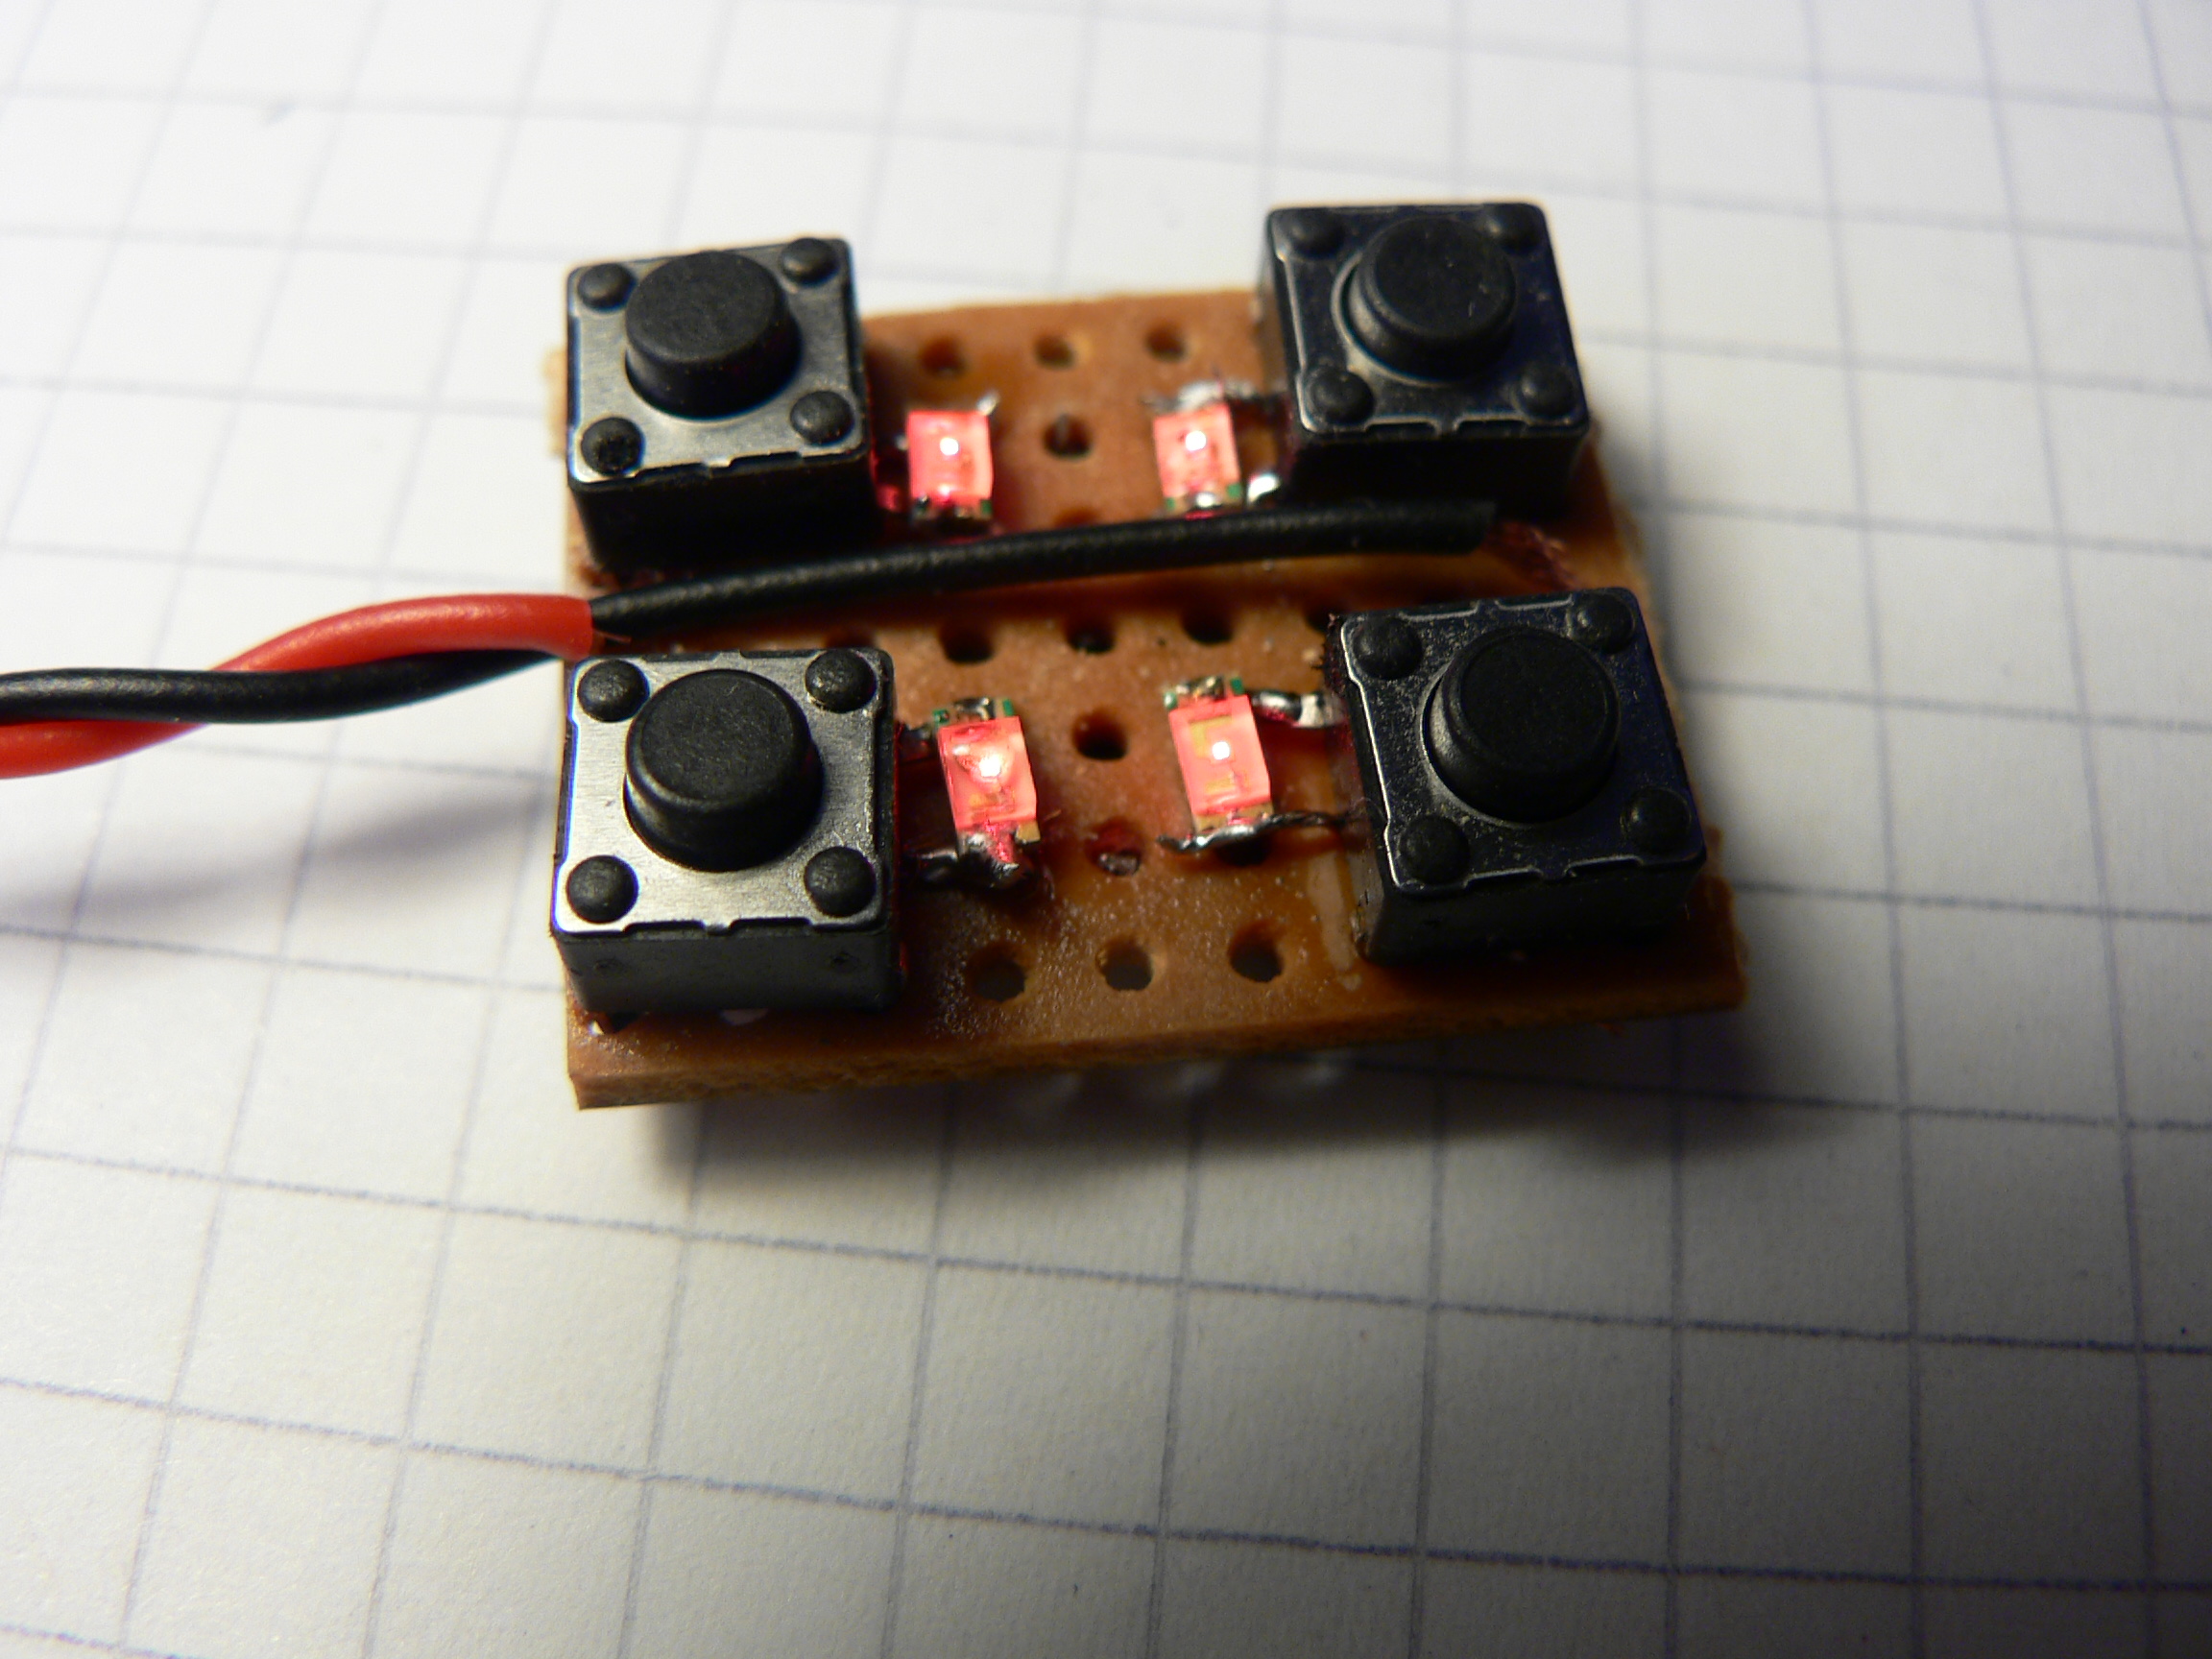 Top view. The LEDs are soldered directly to the buttons' pins
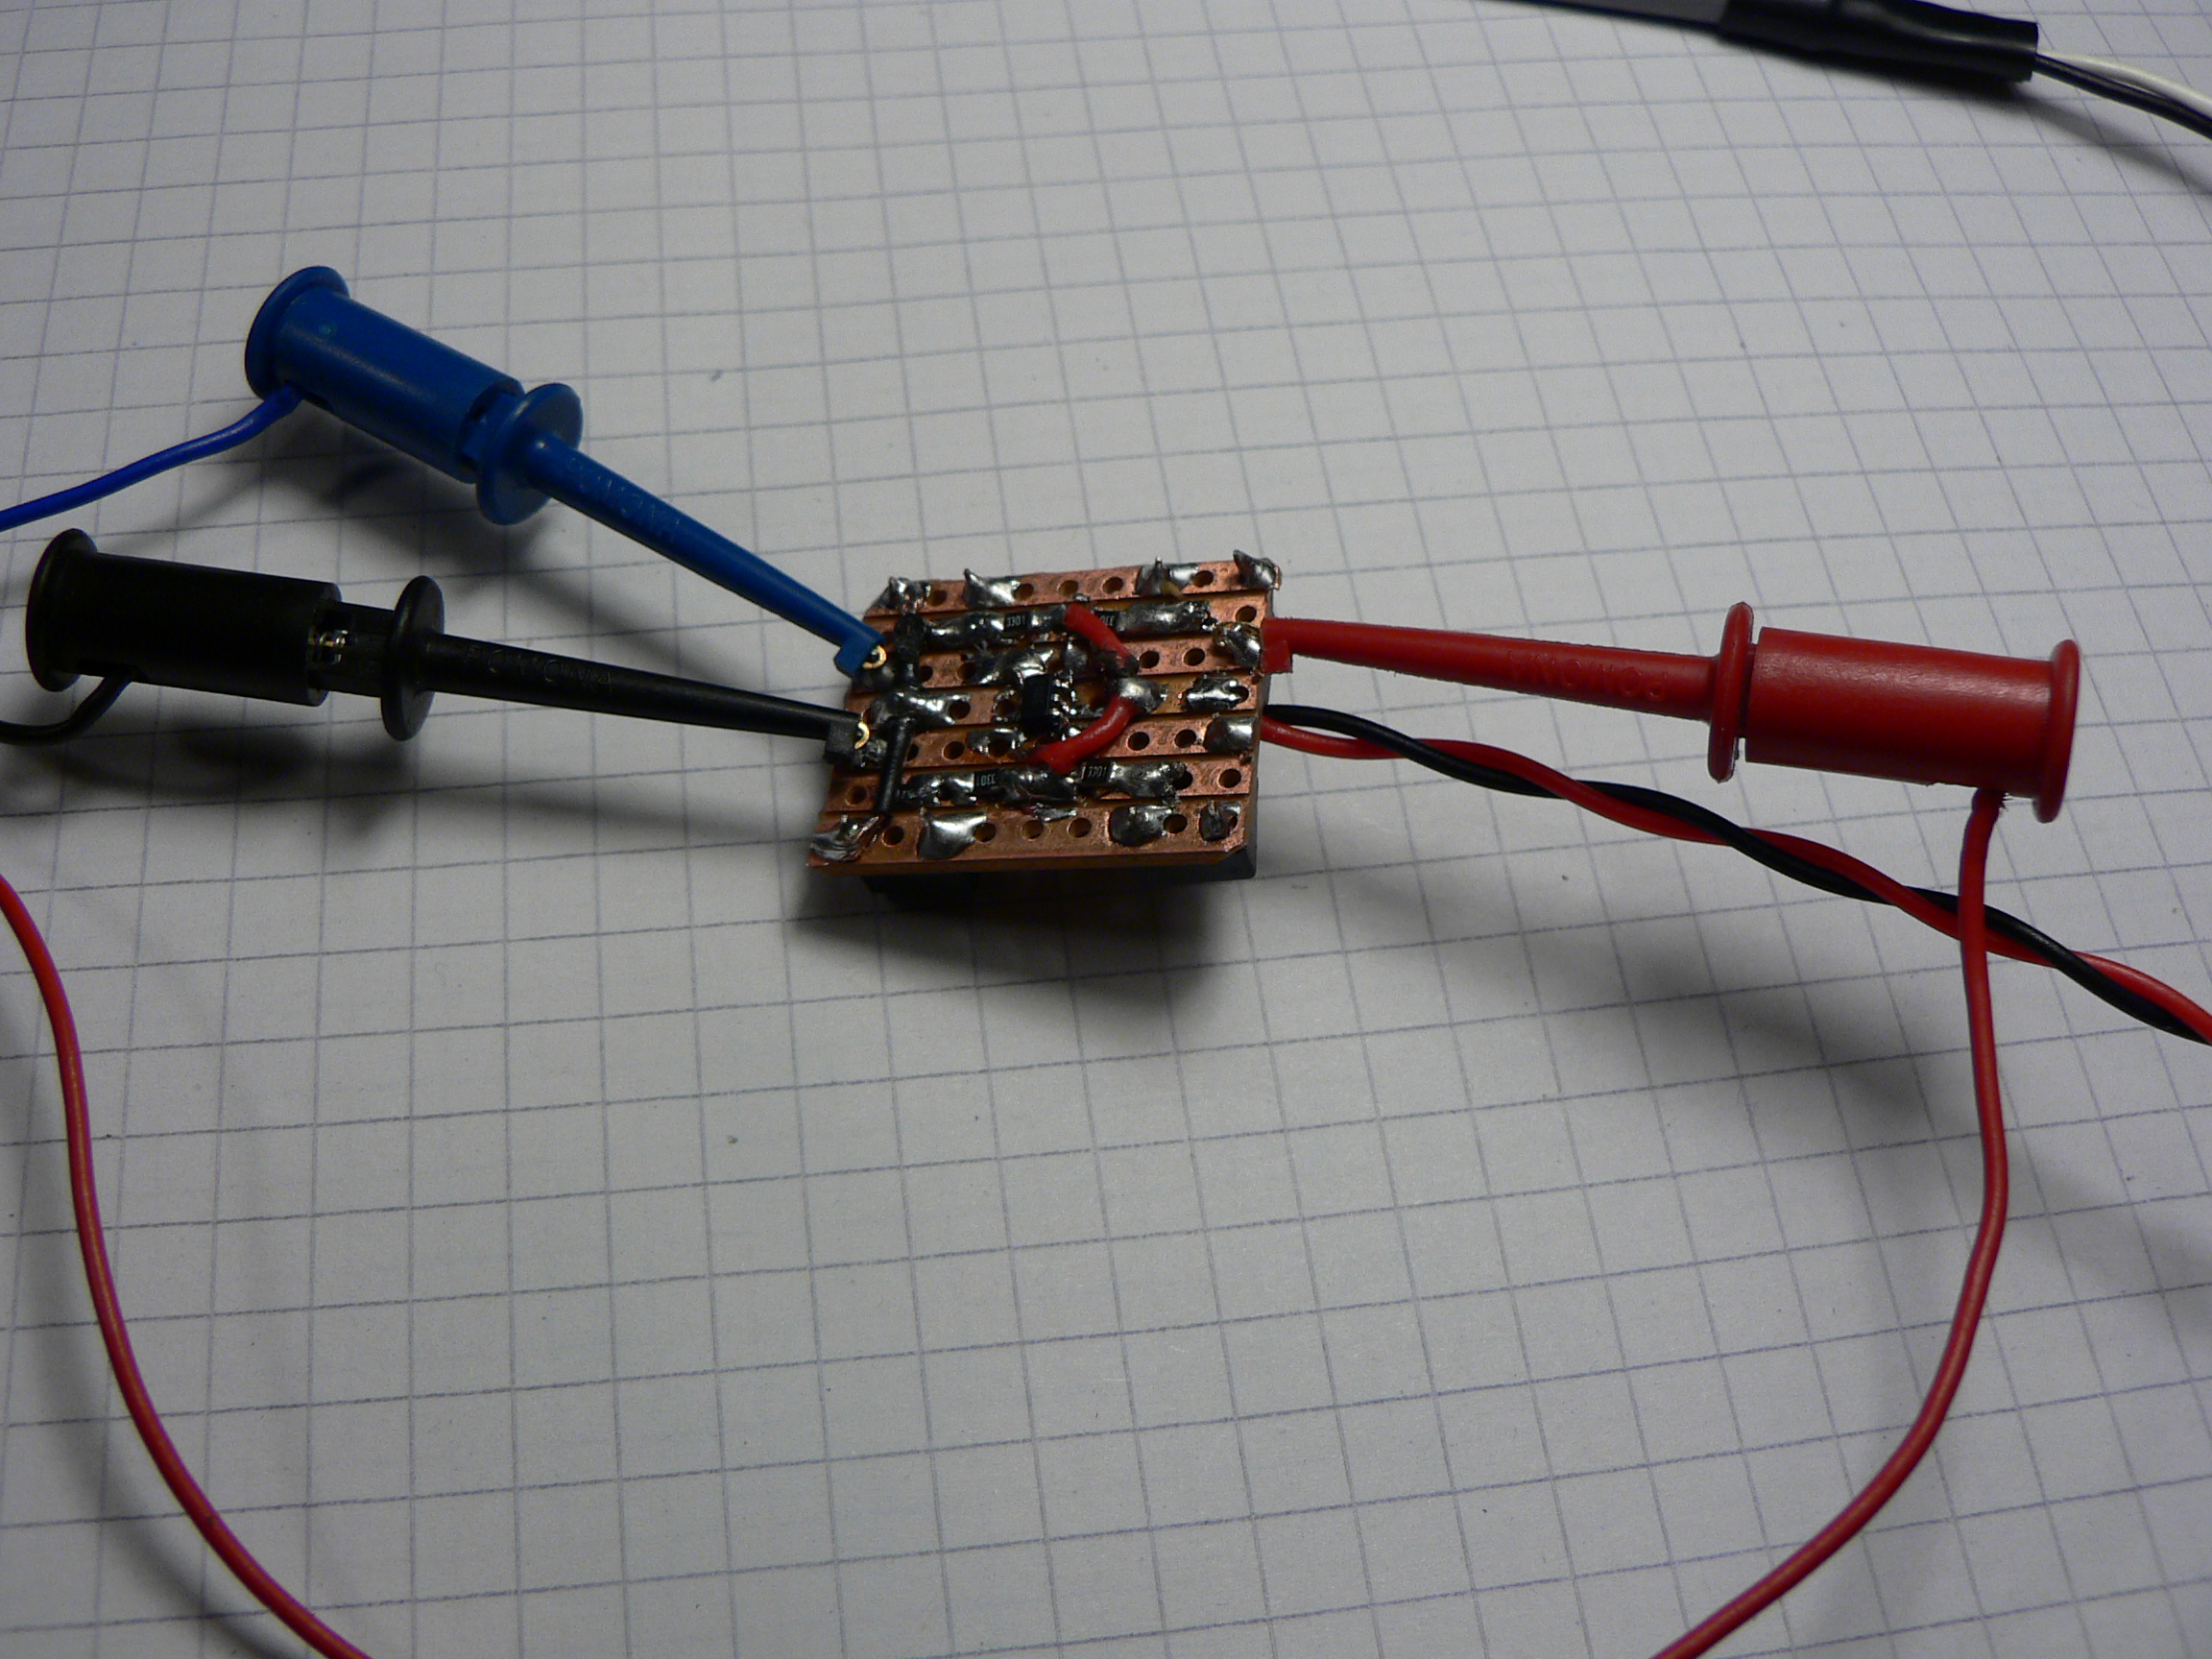 Setup used for programming (red: +12V, blue: TPIDATA, black: TPICLK)
With my last online order came a couple of ATtiny10 microcontrollers, which I mostly chose because I found the idea of such a small (and cheap!) microcontroller appealing.
They've only got 4 I/O pins (counting the reset pin), 32 bytes of SRAM, a minimal instruction set compared to other AVRs, and to top it all off half of the usual 32 registers don't exist! Additionally they can't be programmed via the usual SPI-like ISP protocol, but rather another protocol called Tiny Programming Interface.
Since I couldn't use my trusty USBtinyISP clone I had to read the datasheet and build my own programmer. Fortunately that's very simple and the protocol for “normal” programming (which requires the reset pin to be enabled) and the one for “high-voltage” programming (where the reset pin can be used as a weak I/O pin) are identical, so with a 12V source and a transistor you can actually use the reset pin :-D
I used an ATmega1284P for programming but almost any other AVR will do just fine with some minor modifications. For reference you can download the source code of my programmer, but it's really not magic. The hardware is too simple to put into a schematic: just connect the ATtiny to three free GPIOs of another microcontroller.
avr-gcc seems to have no support for this controller, and even if it did it's unlikely that much of avr-libc would work (it would definitely have to be recompiled to take into account the missing registers). So it's probably simpler to just use assembler, practicing AVR assembly was one of the reasons why I wanted to do this project.
I've found the following sequence of commands to work, outputting a c array that can be included from my hacked-together programmer (yes, the programmer has to be recompiled and flashed each time a new program is to be flashed to the ATtiny, but I'm too lazy to build a real programmer). Note that LDS and STS should be treated with care, as they apparently have a different bit pattern compared to other AVRs. You can either avoid them altogether and use LD and ST, manually encode them using .byte or find a better assembler.
cpp -x assembler-with-cpp firmware.asm -o firmware.s
avr-as -mmcu=attiny22 firmware.s -o firmware.o
avr-ld -o firmware.elf firmware.o
avr-objcopy -O binary firmware.elf firmware.bin
hexdump -ve '1/1 "0x%02X,\n"' firmware.bin > firmware.c
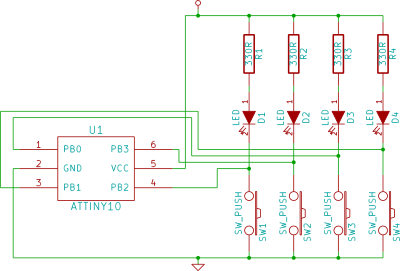
So what can be implemented with just four pins, very little memory and an environment that's apparently unsupported by avr-gcc? Probably a whole lot, but I chose to make a Simon says clone. The circuit is very simple and utilizes all four I/O pins. An ATtiny10 is not specifically required, it would work just as well with an ATtiny4, but they don't cost significantly less, so I see no reason to buy them ;-)
The circuit is still in-system-programmable, the way the LEDs are wired up ensures that the LED on the reset pin only experiences a 7V reverse bias even when 12V are applied to that pin for programming, which it should survive.
I used a CRC algorithm as a random number generator, which should be good enough for humans and is very easily implemented. Currently the random number sequence is the same at every startup, one could probably use the duration the user presses the buttons or the ADC as additional seed, but as a proof of concept this is good enough ;-)
The actual sequence is not saved in RAM, instead the state of the random number generator before the sequence is generated and shown to the user is remembered, so it can be reconstructed from that. Good luck punching in the 131071 button-pushes long sequence that would make the counter overflow!
The source code for this project is freely available. Bear in mind that this is a three-hour fun project and also the first real piece of code I've written in AVR assembler, so be lenient!
Bottom view. Can you spot the microcontroller?Top view. The LEDs are soldered directly to the buttons' pinsSetup used for programming (red: +12V, blue: TPIDATA, black: TPICLK)There is at least one clone out there: youtube video. Definitely worth checking out. You can also download an archive containing all the sources, the schematic and a Makefile.
![]()